How to Use Window Light to Create a Quick, Beautiful Portrait | Tutorial
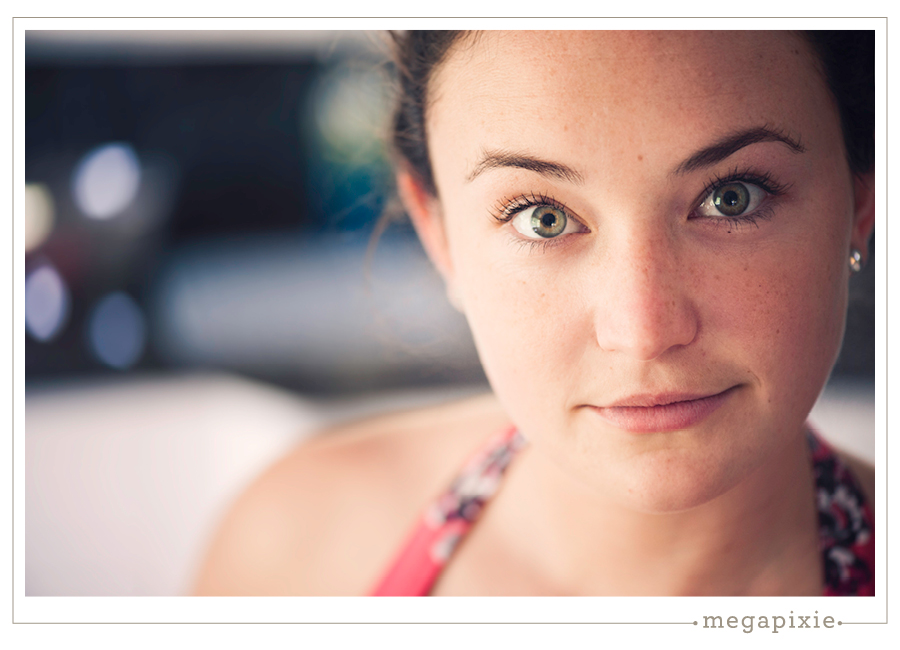
Just a quick post today... it's been a busy week! I got the idea for this post this morning when I stumbled upon this photo I took of my adorable gorgeous cousin Alice earlier this spring (seems like yesterday she was a little kid running around, but now that she's in graduate school, I guess she's officially beyond the adorable phase).  I wanted to capture those killer eyes, but we were just hanging out in the kitchen, so I grabbed my camera and pulled her toward the window. For those who want the specs, this was taken with my 105mm lens, ISO 800, f/3, Shutter Speed 1/60. It was 3:30 in the afternoon, and she's standing about 6-7 feet away from a SE-facing window.
A lot of times my clients shy away from shooting indoors ("but my house is so messy/dark/small!"), and though I may not be able to create a super-wide variety of shots inside a tiny home, the fact of the matter is that perfectly average window light is some of my very favorite portrait lighting... and I have yet to find a client who doesn't have windows.
Here are the rules to keep in mind when shooting in window light:
- Look for windows that are NOT in direct light - the point is not to have sun on your subject's face, but rather to have a large, soft light source.
- Position them so that the reflection of the window is toward the top of their iris and any shadows fall below or to the side of their nose - if the window is low, consider having them sit on a chair or the floor.
- Play with turning them directly toward the window, eliminating shadows from their face altogether, and turning them 45-90 degrees away, giving nice shadows on the side of the face and drama in the eyes.
- Remember that window light falls off exponentially, so depending on the look you're going for, move them toward or away from the window to achieve harder and softer lighting (note the super-soft light in the above photo - if she'd been right beside the window, this photo would've had a very different look).
- Get in close and focus directly on the iris nearest to you, using as wide an aperture as possible (low f/stop number) to create soft, blurry backgrounds.
Boom! With practice, you can shoot a portrait like this one in seconds... which is exactly what we did here. Oh, and it helps if your subject is super gorgeous and can smize with the best of them :D
Have a great weekend!
xox,
annemie
P.S. I haven't forgotten about recipes... it's just been too dang hot to cook! Next week... promise!