5 Techniques for Creating Better Portraits (for free!) | Chapel Hill Portrait Photographer
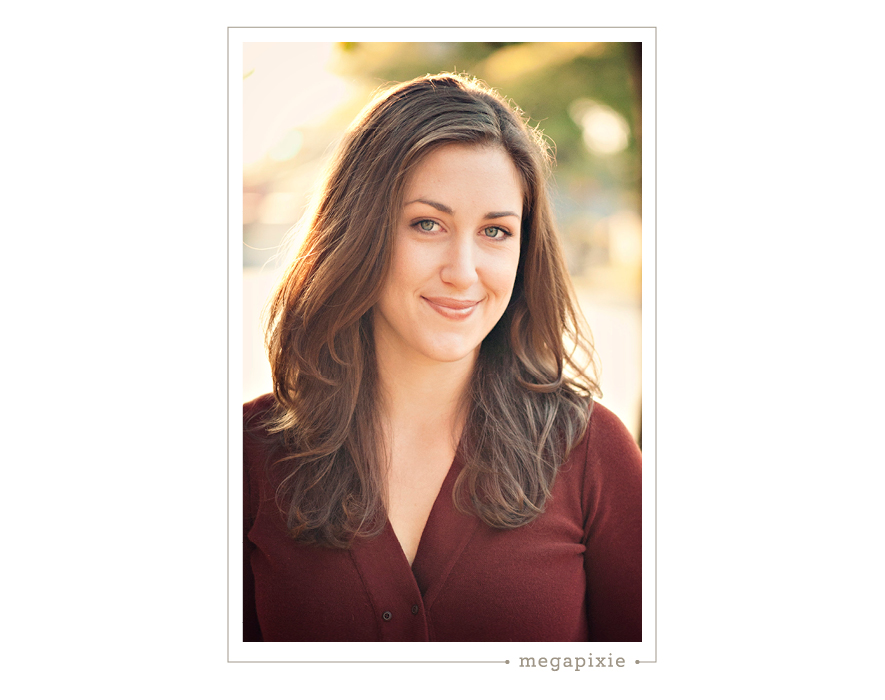
Thank you all for your feedback on the new site! I've known for months that it needed to be updated, but a new website is not a small job, and I'll admit I kept putting it off. For better or for worse, my hand was forced two weeks ago when my oh-so-well-meaning husband accidentally hit the "publish" button on a new blog theme, essentially erasing my site. I had to decide then and there whether to do a lot of work to get my old site back, or to cut my losses and do even more work to design and build a new site, like, NOW. I guess you can see what I chose to do, and I'm glad I did... it's like moving: once the drudgery of cleaning and packing and lugging furniture up the stairs is behind you, it's really fun to decorate your new house! And speaking of decorating, one of the last pieces I need to address is my "about me" page, which is currently nothing more than a couple of lines copied and pasted from the Megapixie Facebook profile and a quick snapshot from over a year ago. Writing the bio is a daunting task, so of course I wanted to wait to get some new pictures... but where does a photographer go to get a new portrait of herself? Why, to another photographer, of course! I called my friend Heather (the lovely and talented owner of Wander and Scrawl Photography) to see whether she might be willing to do the job, and it turned out that she was on the market for a new profile picture too! Perfect!! So we met in downtown Carrboro for an hour one beautiful Fall evening and took turns being in front of the camera for once.
Headshots are deceptive. They seem simple enough - frame the subject's head and shoulders, aim, and fire - but there's actually quite a bit more to it than that. The good news is that in the case of portraits, technique trumps equipment, so I thought I'd share how you can join in the fun without spending a dime at the camera store :D
1. Posing: whole classes are taught on this subject, but here are three quick rules of thumb.
- Have your subject turned 45-ish degrees from the camera, so they're not facing the camera straight on, but also not looking way over their shoulder - the angle helps slim the body and gives visual interest.
- Generally, shoot women from slightly above, and men from slightly below. The higher angle opens a woman's eyes and slims her face, while the lower angle makes men appear taller and stronger.
- Consider the old portrait photography adage that if a joint can bend, bend it. In particular, hands (if they're included) should be relaxed and turned so the back of the hand isn't prominent in the picture.
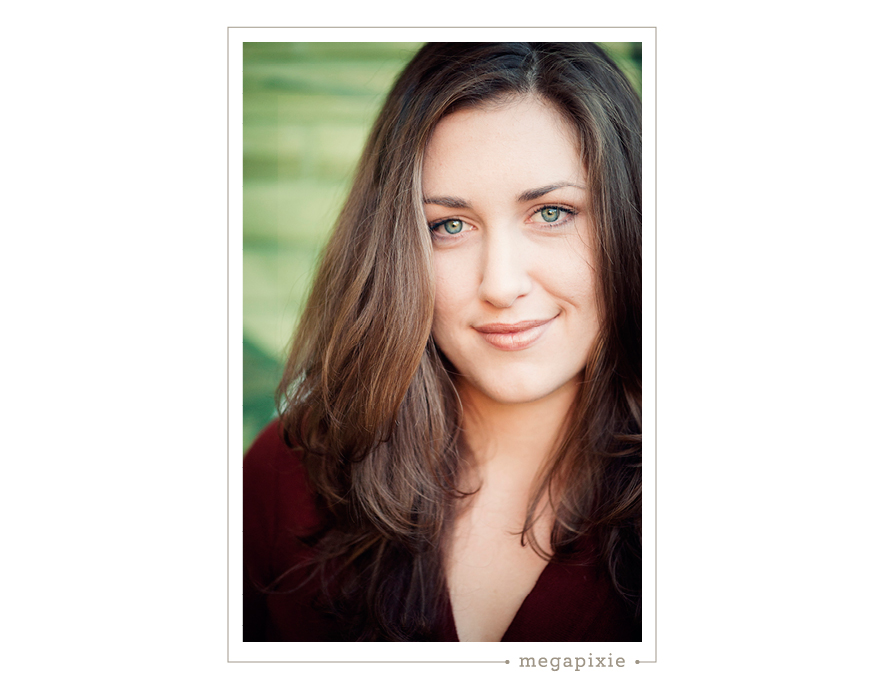
2. Color/Background: 99% of the time, I shoot wide open, which - without getting technical - basically means I like my subject's eyes perfectly focused, and my background blurry.* That doesn't mean, though, that I don't think about my background. I don't really need a particularly pretty background, but I do look for colors that will complement my subjects' clothing, eyes, or hair. In this case, Heather has extraordinary green eyes, and she was wearing a chocolate brown shirt, so when we found this green wall, I knew the colors would all work perfectly together.
3. Light: Over and over again, I see people running out into the sun to take pictures. No problem there, necessarily, but it's what they do in the sun that could be improved. Sunlight directly on a subject's face will do three things: overexpose his face (making it too bright relative to the rest of the image), make him squint, thereby ruining the most important part of the image (the EYES!), and either remove all shadows from his face, or create small, harsh shadows around the eyes, nose, and mouth. Try these tips the next time you shoot a portrait on a sunny day:
- Try to take your pictures in the early morning or late afternoon/evening light - the light is naturally softer and will create softer shadows.
- If shooting in the middle of the day, either put your subject in "open" shade (not dappled light from a tree... I'm talking in the shade of a house), or turn their faces 180 degrees away from the sun, effectively putting the subject's face in open shade.
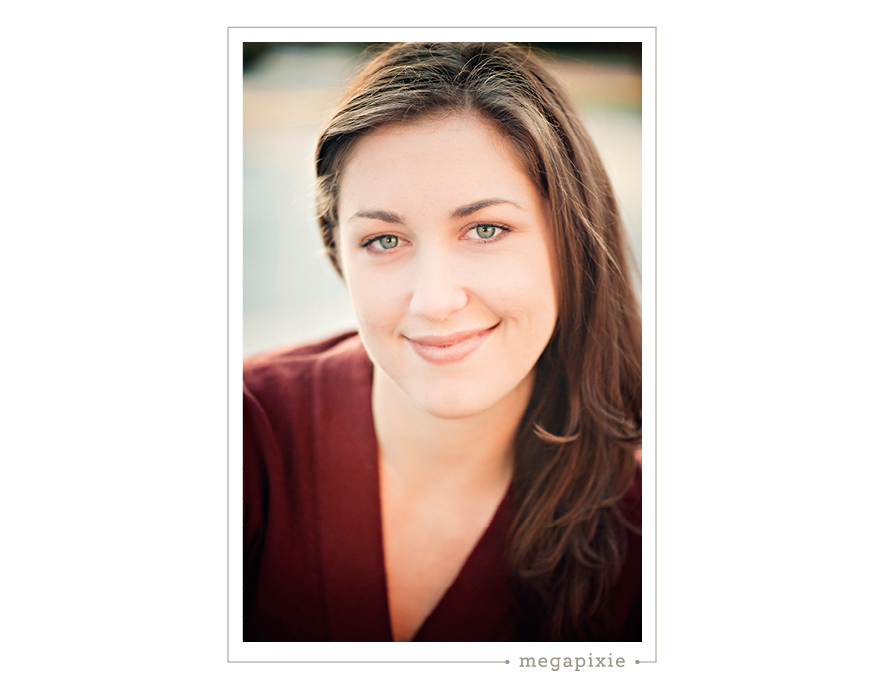
In this image, I turned Heather away from the sun, but kept the sun far enough out of the frame that I didn't have to worry about sunflare or too much haze (want sunflare? Play with putting the sun closer into the frame!). Her hair is beautifully lit up, separating her from the background, but there are no weird shadows on her face and she could keep her eyes comfortably wide open.
And if you're shooting on a cloudy or rainy day, don't despair! Clouds can be a great diffuser for your light if you approach them right! One of my favorite locations to shoot is in front of a north-facing (or otherwise non-directly lit) window/exterior door. Depending on the light, you may have to bring your subject right up close to the door, but the light is great, especially if you can find a second light source to add a highlight in the background. Try facing the subject directly toward the window, or 45 degrees away, creating those soft shadows. Outside, turn your subject toward where the sun should be and work on finding that pretty background color!
4. Reflectors: Sometimes the balance between the light and shadow sides of the face is off, or in the case of shooting your subject backlit by open sun, the shadow on their faces makes them TOO dark. Enter reflectors! You can go buy professional reflectors, of course, but didn't I promise you no spending? Why not instead position your subject near a white wall, a white car, a window or mirror (just make sure you don't blind anyone!), or your own white shirt? Different colors work, too, but may cause a color cast on your subjects' face. The nearer your subject is to the reflective surface, the brighter the reflection in their face. And if you don't want to rely on the reflectors that exist out in the world, you can spend $3 on a piece of foam core or poster board to carry with you... they work nearly as well as the pro gear for a tiny fraction of the cost!
5. Expression: Here's the kicker. You can know all there is to know about lighting and posing, have the best equipment on the market, and be shooting the most beautiful people in the world, but if you can't nail a good expression, you're no good as a portrait photographer. Different people prefer different styles, of course, but if you're reading this blog, chances are you're more or less into what I'm into: beautiful, natural expression of all kinds (no "say cheese" smiles allowed!). One of the things I found a little tricky when I was starting out was striking a balance between keeping my clients engaged and comfortable (which usually meant getting them talking) without then having a hundred images of them mid-sentence. What I realized was that it just required a bit of patience: get them talking and laughing, but always be on the lookout for that perfect moment, and have everything else set so you can just click the shutter. Heather made it easy, of course, because a: she's a knockout, and b: she knows what to do... rarely do you get both of those qualities in a single person. But with practice, it's possible to catch anyone looking their best.
* Bonus tip! You can control your depth of field to some extent, even with a point and shoot! Put your camera in A or Av mode (aperture priority) and program the associated number to be as low as possible; put as much distance as possible between your subject and the background; zoom in as far as you can with your lens (not your digital zoom!); then get as close to your subject as you can while still framing them properly. Your depth of field may not be as shallow as a more expensive camera/lens setup will allow, but if you master all of the above techniques, it won't matter: you and your P&S will have a leg up on what I'd guess is about 90% of the big-fancy-camera-carrying population :D
So who learned something here? And who has something to add? I'd love to see your comments below - whether to share a tip or link to a great shot you were able to get using one or more of these ideas! Be in touch!!
xox,
annemie